Creating a kids’ craft room is not about perfection. It is about possibility.
It is about giving your child a space where glue sticks feel magical, crayons feel powerful, and paper turns into rockets, rainbows, or very serious dinosaur reports. A craft room does more than hold supplies. It supports creativity, builds confidence, and gives you a safe place where messes are allowed.
If you have ever stepped on a stray Lego at 6 a.m. or found glitter in your coffee, you already understand why a dedicated craft area feels like a dream.
The good news? You do not need a mansion or a huge budget. You just need smart planning, a little imagination, and a few proven ideas that actually work in real homes.
Let me show you how to build an easy American kids educational craft room setup with practical tips, real-life solutions, and creative ideas you will truly love to explore.
What Is an Educational Craft Room (And Why It Matters)
An educational craft room is not just a playroom with markers.
It is a space designed to help kids learn through hands-on activities. It supports fine motor skills, early math, reading readiness, problem-solving, and self-expression. It blends creativity with learning in a way that feels fun, not forced.
In simple terms, it is where art meets education.
Kids learn best when they feel free to explore. A good craft room gives them that freedom while keeping things organized enough that you do not lose your sanity.
From my own personal experience, children who have access to a creative learning space tend to spend more time making things instead of staring at screens. They also take more pride in their projects because they have a place that feels like their own.
And yes, it also helps keep craft chaos out of your kitchen.
That alone is worth it.
Choose the Right Space (Even If You Think You Don’t Have One)
You do not need a full spare bedroom to create a craft room.
You can use:
- A corner of the living room
- A section of the basement
- Part of a bedroom
- A wide hallway nook
- Even a large closet
The key is defining the area.
Use a rug, bookshelf, or low storage unit to visually separate the craft zone from the rest of your home. Once kids see that boundary, they understand that this is their creative space.
Lighting matters more than size. Try to place the area near a window if possible. Natural light makes colors pop and keeps kids more alert.
If windows are not an option, add bright overhead lights or desk lamps. Nobody wants to paint in the dark.
Pro Idea #1: Start With a Kid-Friendly Table and Chairs
This sounds obvious, but it sets the tone for the whole room.
Choose a sturdy table at your child’s height. Avoid glass tops. Go for something that can handle marker stains, glue spills, and accidental hammering.
Yes, hammering. Kids will surprise you.
Chairs should be lightweight so kids can move them easily. If you have more than one child, make sure there is enough space for teamwork and sibling negotiations.
A round table works great for group projects. A rectangular one fits better against walls in smaller spaces.
Add a wipeable table cover if you want extra protection.
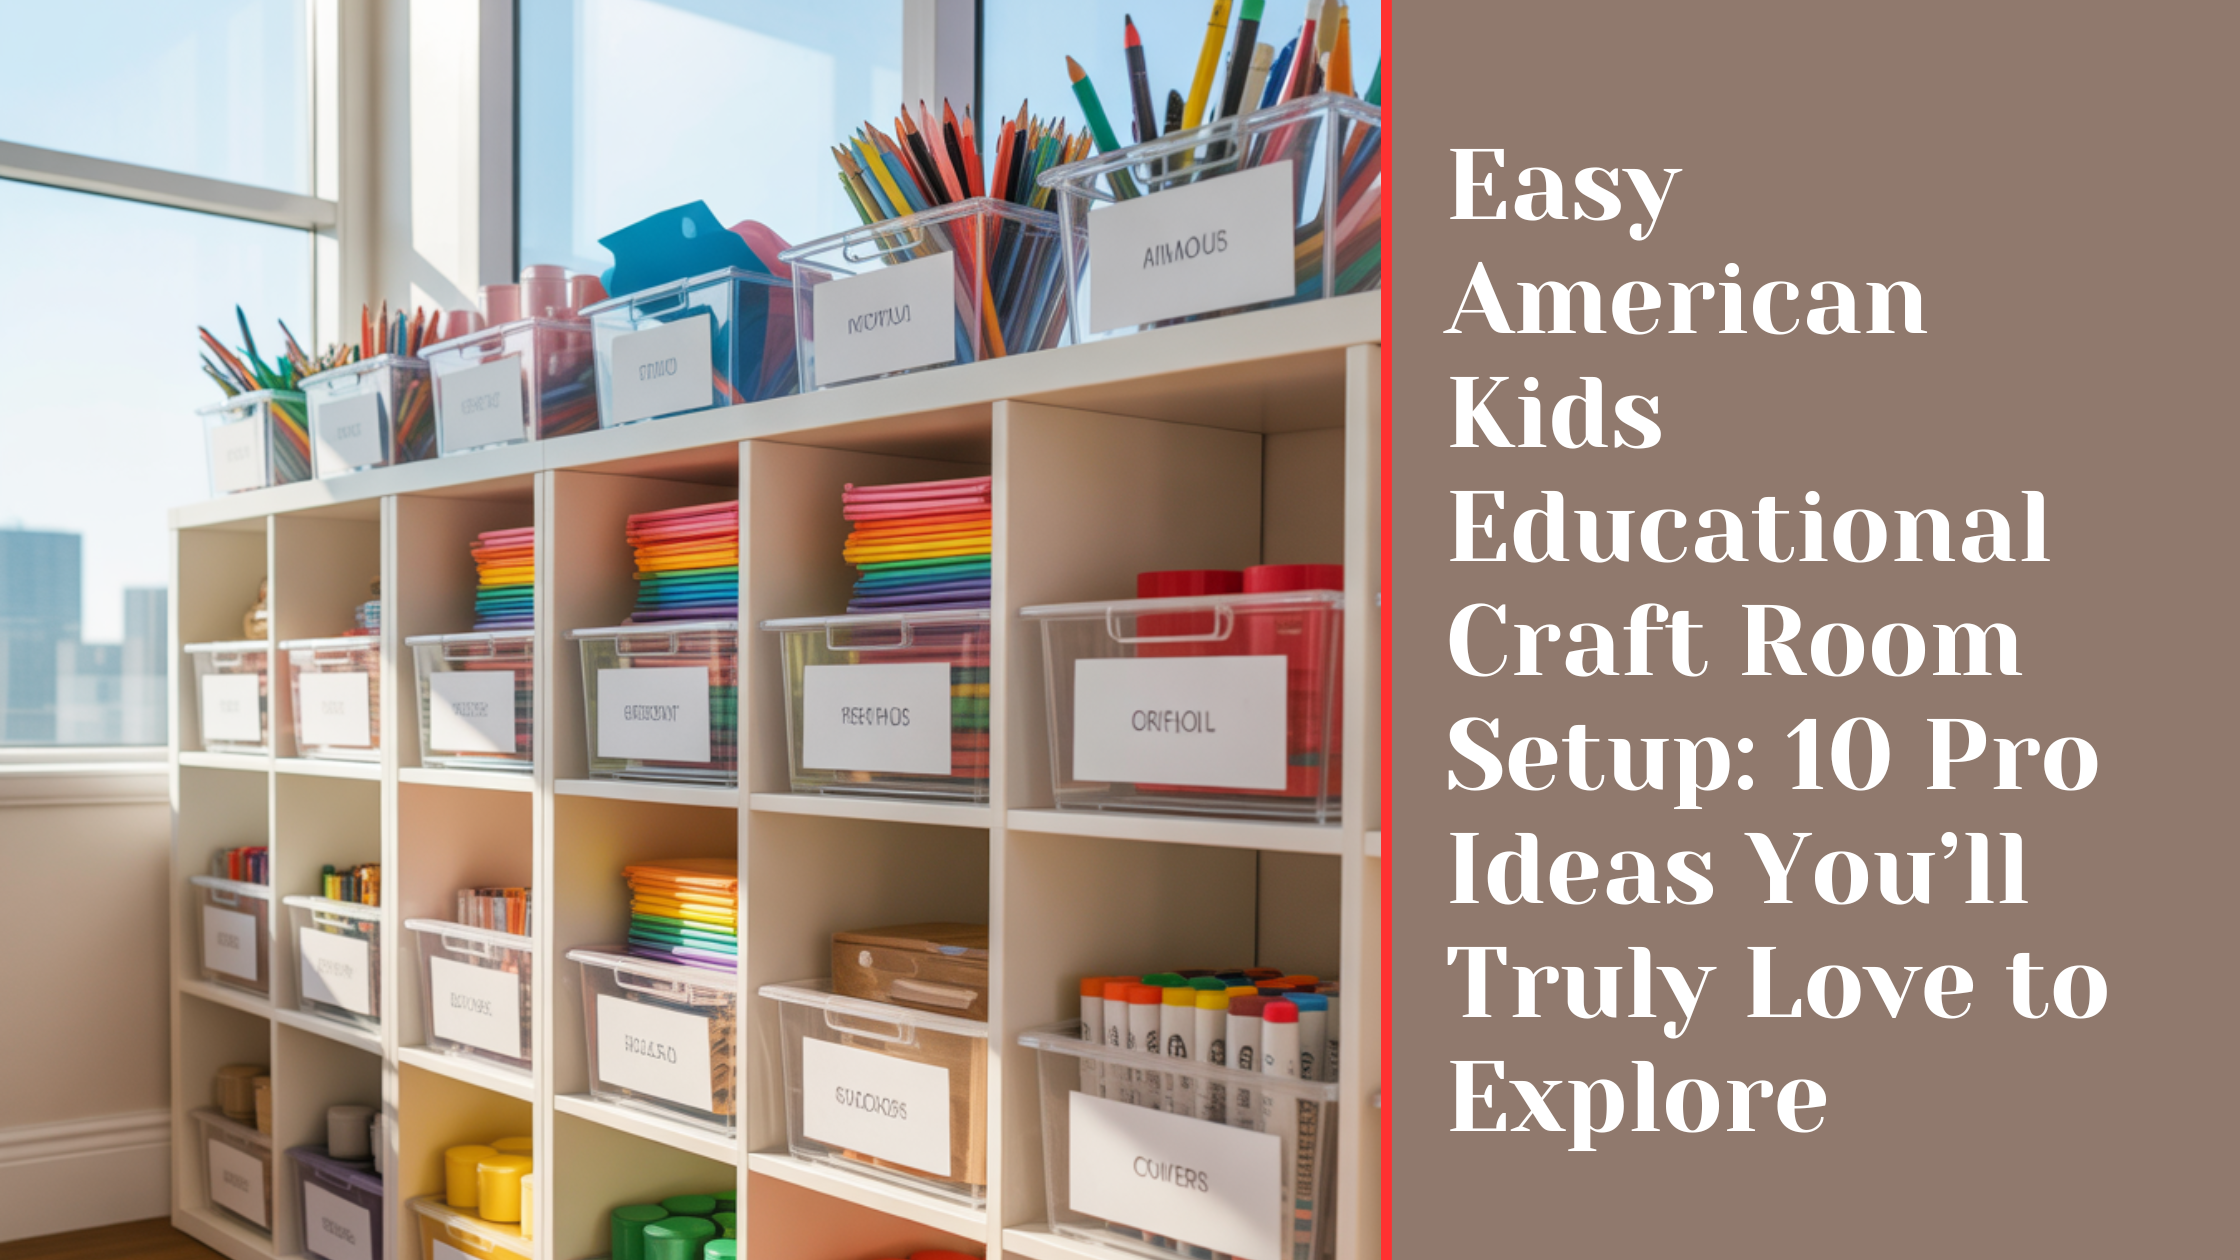
Pro Idea #2: Open Storage Beats Hidden Cabinets Every Time
If kids cannot see their supplies, they forget they exist.
Open shelves, clear bins, and labeled baskets make everything visible and accessible. This encourages independence. Kids can grab what they need without asking you every two minutes.
Use clear plastic bins for:
- Markers
- Crayons
- Glue sticks
- Craft paper
- Stickers
Use fabric baskets for softer items like yarn or felt.
Label everything with words and pictures for younger kids. This also doubles as a reading activity.
Bonus: clean-up becomes faster when everything has a home.
Pro Idea #3: Create Learning Zones Inside the Craft Room
This is where the educational part shines.
Divide the room into simple zones:
- Art zone for drawing and painting
- Building zone for blocks or construction toys
- Reading corner with books and pillows
- Puzzle or math table
- Science shelf with magnifying glasses or simple kits
You do not need walls between zones. Just arrange furniture and shelves to guide movement.
Kids naturally rotate between activities, which keeps boredom away and supports different learning styles.
Pro Idea #4: Wall Space Is Your Secret Weapon
Walls are not just for decoration.
They are working tools.
Use them for:
- Alphabet posters
- Number charts
- World maps
- Color wheels
- Cork boards for finished artwork
- Dry-erase boards for spelling practice
Hang a wire or string with clothespins to display your child’s latest masterpieces. This gives them pride in their work and saves your fridge from becoming a gallery.
You can also add a growth chart or behavior chart if that fits your parenting style.
Just keep it simple. Too many visuals can overwhelm young minds.
Pro Idea #5: Stock Up on Core Craft Supplies (But Don’t Go Overboard)
You do not need a craft store in your house.
Start with basics:
- Construction paper
- Safety scissors
- Washable markers
- Crayons
- Glue sticks
- Tape
- Stickers
- Pom-poms
- Pipe cleaners
Add learning tools like:
- Counting cubes
- Letter tiles
- Flashcards
- Simple puzzles
Rotate supplies every few weeks to keep things fresh. Put some items away and bring them back later. It feels new without spending more money.
Also, keep a “free craft” bin with cardboard boxes, paper towel rolls, and egg cartons. Kids love turning trash into treasure.
Pro Idea #6: Make Clean-Up Part of the Fun (Yes, Really)
Cleaning does not have to feel like punishment.
Play music during clean-up time. Turn it into a game. Set a timer and see who can finish first. Give high-fives for teamwork.
Use picture labels so even toddlers know where things go.
Store brooms, wipes, and small dustpans within reach. When kids help clean, they learn responsibility without even realizing it.
Plus, you get fewer mysterious glue blobs on the floor.
Pro Idea #7: Add Comfortable Seating for Quiet Moments
Craft rooms are not just for crafts.
Sometimes kids need a break.
Add bean bags, floor cushions, or a small couch for reading or relaxing. Keep a basket of books nearby.
This teaches kids that creativity also includes rest and reflection.
It also gives you a place to sit when your child wants to show you their latest masterpiece for the fifth time in ten minutes.
Pro Idea #8: Personalize the Space With Your Child’s Interests
This is where magic happens.
Does your child love dinosaurs? Add dinosaur posters.
Into space? Hang planets from the ceiling.
Obsessed with animals? Create a mini wildlife corner.
Let your child help choose colors, themes, and decorations. When they feel ownership, they use the room more.
This also boosts confidence and decision-making skills.
And yes, it might mean living with neon green walls for a few years. You will survive.
Pro Idea #9: Build in Simple Educational Activities
A great craft room quietly teaches while kids play.
Here are easy ideas:
- Letter tracing sheets
- Counting games with beads
- Pattern cards for blocks
- Matching games with colors and shapes
- Simple science experiments
Keep activity cards in a small box. Pull one out when kids say, “I’m bored.”
That phrase loses its power quickly.
Pro Idea #10: Create a Display Area for Finished Projects
Kids love recognition.
Set up a shelf or bulletin board for completed crafts. Rotate pieces weekly so everything gets its moment.
Take photos before swapping them out. You will thank yourself later.
This shows kids that their work matters. It also keeps piles of paper from taking over your home.
Things You Truly Need to See Before You Start
Before you grab paint brushes and storage bins, take a moment to plan.
Ask yourself:
- How much space do I really have?
- What does my child enjoy most?
- How much mess am I comfortable with?
- What supplies do we already own?
Start small. You can always add more later.
Based on my overall experience, the best craft rooms grow over time. You do not have to build everything in one weekend.
Begin with a table, storage, and basic supplies. Then adjust as you see how your child uses the space.
Budget-Friendly Tips That Actually Work
You do not need expensive furniture.
Try these:
- Use cube shelves from big box stores
- Repurpose old bookcases
- Shop secondhand
- Use mason jars for supplies
- Turn shoe organizers into wall storage
Dollar stores are gold mines for craft materials.
Ask friends for leftover supplies. Many parents have extra crayons and paper collecting dust.
Creativity does not care about brand names.
Safety Comes First (Even in Fun Spaces)
Make sure:
- Scissors are kid-safe
- Paints are non-toxic
- Small items stay away from toddlers
- Shelves are anchored to walls
- Outlets are covered
Keep messy or advanced tools in a higher cabinet.
Teach kids basic rules like no running with scissors and washing hands after painting.
Safety does not kill fun. It protects it.
How a Craft Room Supports Emotional Growth
This part often gets overlooked.
Creative play helps kids express feelings they cannot always explain with words. Drawing, building, and crafting can calm anxious minds and boost confidence.
When kids finish a project, they feel proud. When something fails, they learn patience.
These lessons matter.
A craft room gives kids a safe place to try, fail, laugh, and try again.
That is powerful.
Making It Work for Different Ages
If you have kids of different ages, set up shared supplies with age-specific bins.
Toddlers get chunky crayons.
Older kids get fine-tip markers.
Create upper shelves for advanced tools.
Encourage older siblings to help younger ones. This builds leadership and empathy.
You do not need separate rooms. Just smart organization.
Keeping the Space Fresh Over Time
Rotate themes with seasons.
Fall crafts in autumn. Snowflakes in winter. Nature art in spring.
Introduce new challenges like weekly art prompts or building contests.
Small changes keep kids engaged without major effort.
Real Talk: It Will Get Messy
Let us be honest.
Your craft room will not look Pinterest-perfect every day.
Paint will spill.
Paper will scatter.
Someone will glue their sleeve to the table at least once.
That is part of the charm.
A lived-in craft room means kids are learning and creating. That matters more than tidy shelves.
Take a deep breath and keep wipes nearby.
Why You’ll Truly Love This Setup
An educational craft room gives you:
- Happier kids
- Less screen time
- More creativity
- Better organization
- Shared memories
It becomes a place for laughter, learning, and connection.
You will watch your child grow through their projects. You will hear stories about their drawings. You will see confidence bloom in small hands covered in marker ink.
And someday, you will find old crafts in a box and smile.
Final Thoughts
Creating an easy American kids educational craft room setup is one of the best gifts you can give your child.
It does not have to be fancy.
It just has to be thoughtful.
Start simple. Build slowly. Let your child lead.
From cardboard castles to glitter-covered greeting cards, every project tells a story. And those stories begin in a space that says, “You are free to create here.”
That is what makes a craft room special.
If you are ready to explore, now is the perfect time to begin.